How to Prepare Your Property for Asphalt Paving
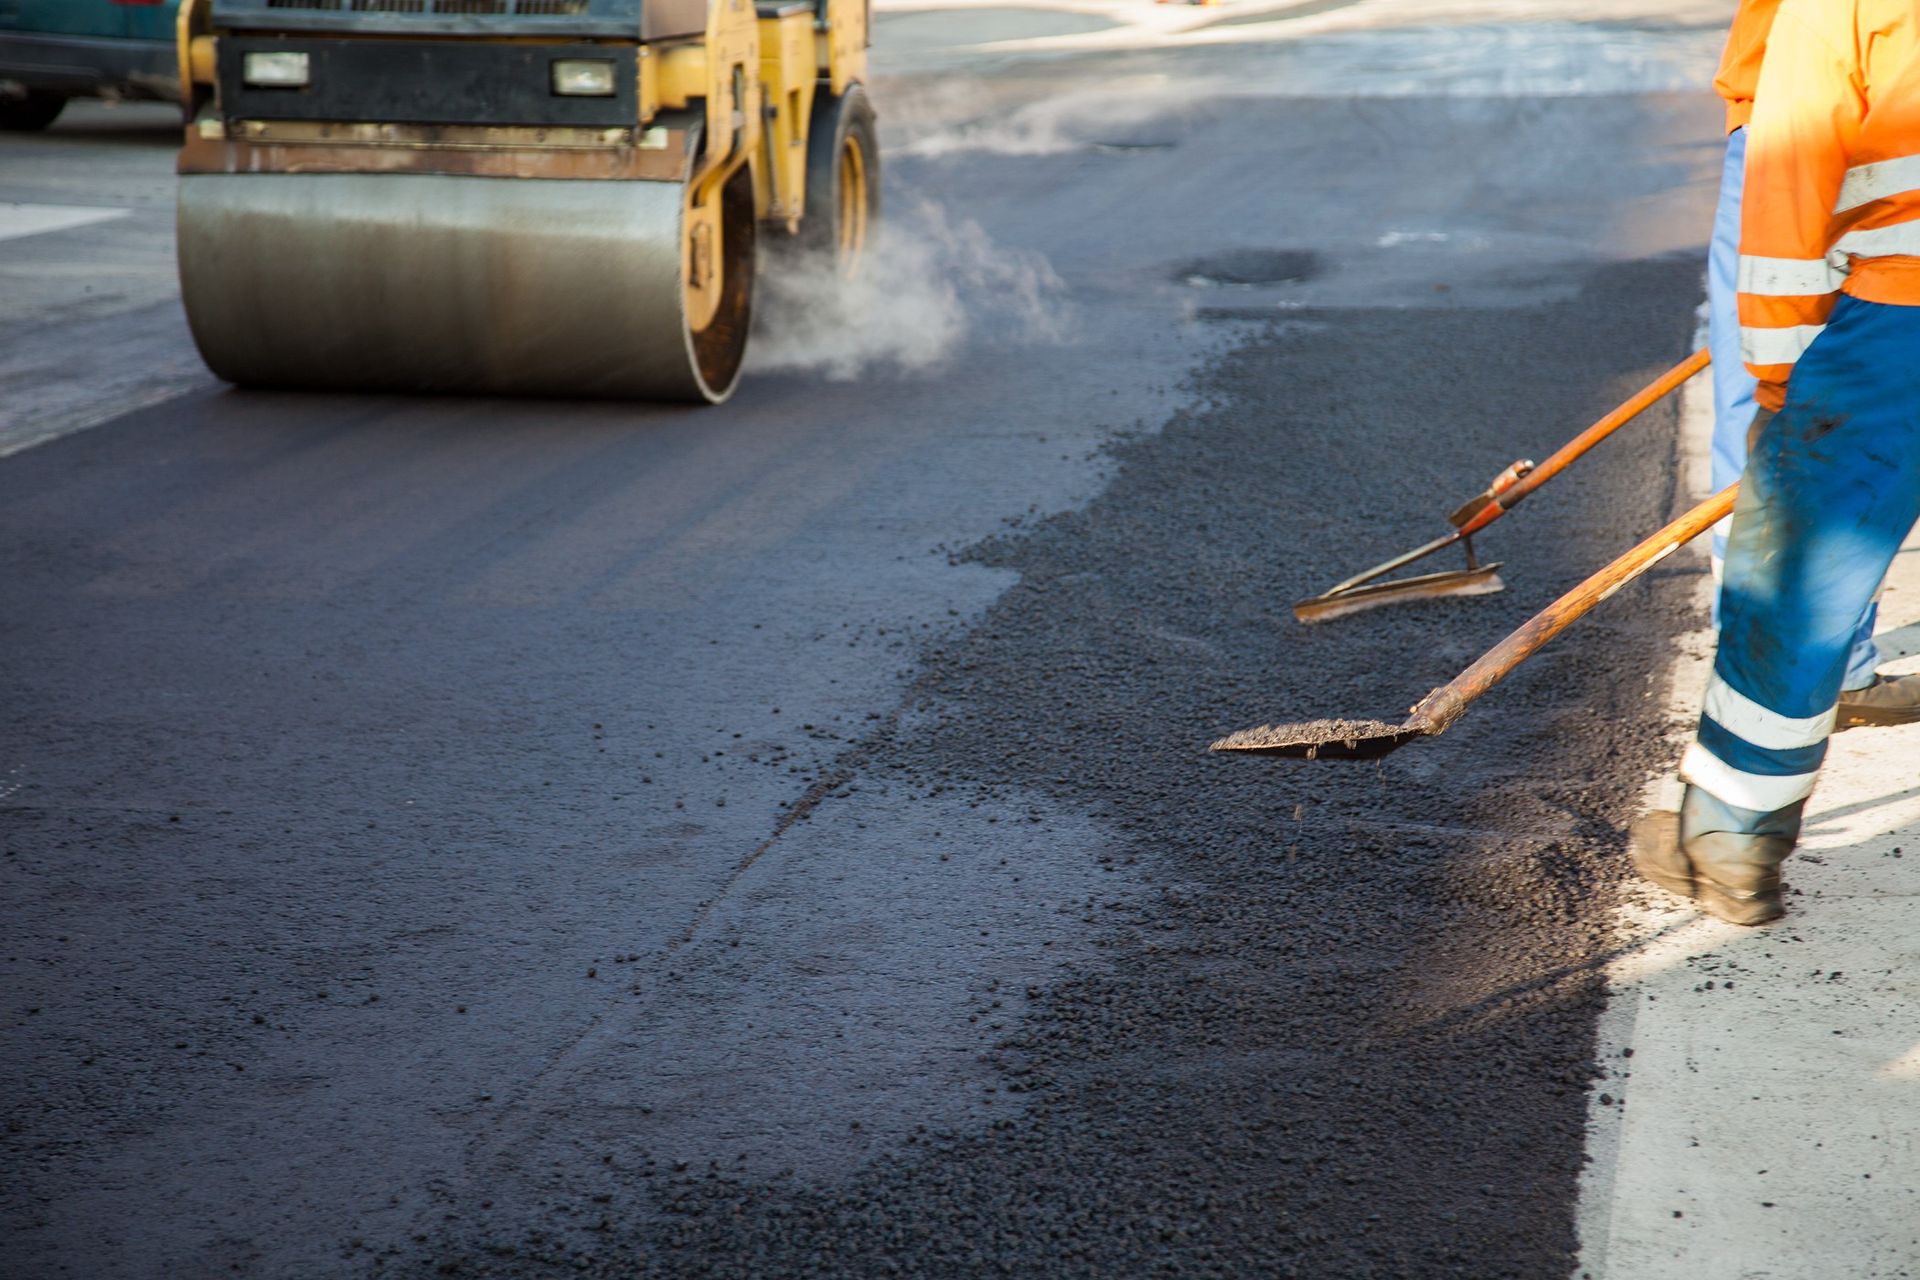
Asphalt Pavement Installation
Asphalt pavement installation is a crucial investment in enhancing the aesthetics, functionality, and value of your property. Whether you're installing a new driveway, parking lot, or any other asphalt surface, proper preparation is essential to ensure long-lasting results. In this comprehensive guide, we will explore the steps involved in asphalt pavement installation and provide practical tips on how to prepare your property effectively. By following these guidelines, you'll not only optimize the lifespan of your asphalt but also avoid potential issues down the road.
Why Proper Property Readiness is Essential
Before diving into the asphalt pavement installation process, it's important to understand why property preparation is a critical step. Proper preparation ensures that the asphalt adheres well to the surface, providing a smooth, durable, and even finish. Inadequate preparation can lead to various problems, including cracking, sinking, and premature wear. To avoid costly repairs and ensure your new asphalt surface remains in top condition for years, meticulous paving prep is a must.
Steps to Prepare Your Property for Asphalt Paving
Assess the Existing Surface
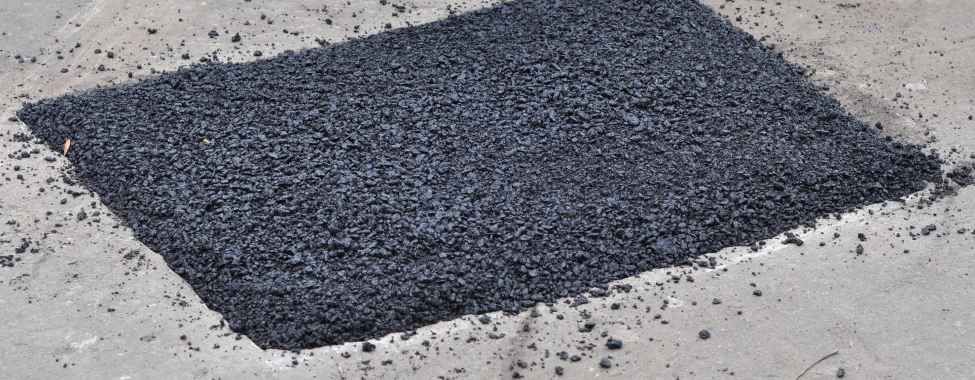
The first step in asphalt paving site preparation is to assess the current condition of the surface where the asphalt will be laid. Proper asphalt driveway preparation tips are crucial for ensuring a long-lasting installation. This assessment identifies issues that need addressing before installation begins. Steps to prepare property for asphalt include checking for cracks and potholes, which should be repaired to prevent worsening. Look for uneven surfaces that may require grading to ensure a level foundation. Additionally, evaluate drainage issues to ensure proper water flow and prevent pooling, which can lead to premature asphalt deterioration.
Remove Existing Structures or Obstacles
Before starting a driveway installation or any asphalt project, it's crucial to clear the area of existing structures and obstacles. This includes removing old asphalt or concrete to prepare for the new layer, clearing vegetation like trees, shrubs, and grass to prevent interference, and ensuring the area is free of debris, rocks, and other clutter that could obstruct the installation process.
Plan for Proper Drainage
Effective drainage is vital for asphalt pavement longevity. Ensure proper drainage by sloping the surface away from structures to avoid water pooling, using French drains to redirect water, and installing culverts to allow water flow beneath the pavement. This prevents damage like cracks and potholes.
Grade the Surface
Grading the surface is a crucial step in paving prep. It ensures a smooth, even base that supports effective drainage and minimizes future problems. During grading, excess soil is removed to create a stable base, a slight slope is introduced to direct water away from the pavement, and the soil is compacted to form a solid foundation, reducing the risk of sinking or settling.
Install a Sub-Base
The sub-base is a layer of aggregate material, typically gravel or crushed stone, that provides additional stability and support to the asphalt. A well-constructed sub-base is crucial for pavement durability. To install it, first spread the aggregate material evenly across the graded surface. Next, use a compactor to densely pack the sub-base, creating a strong foundation. Finally, check for levelness to ensure the sub-base is flat and free of dips or high spots that could impact the asphalt's performance.
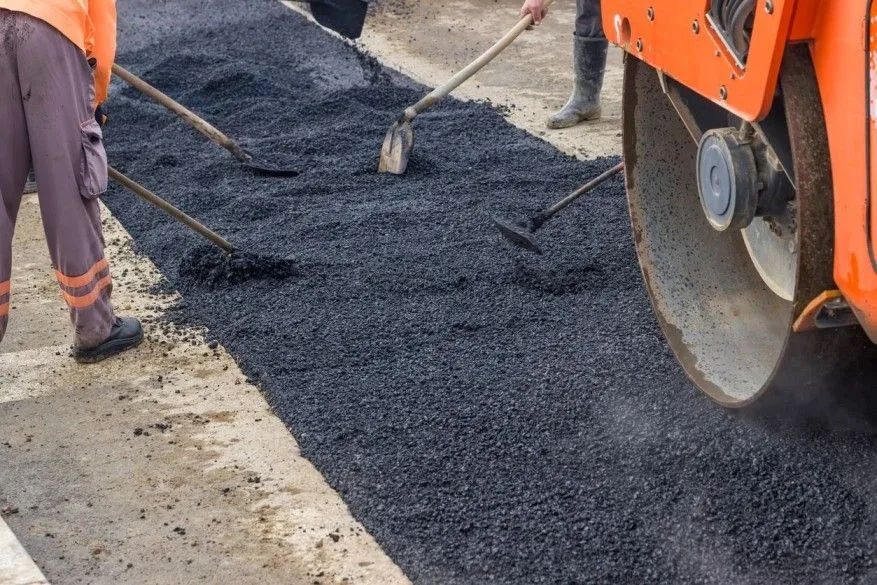
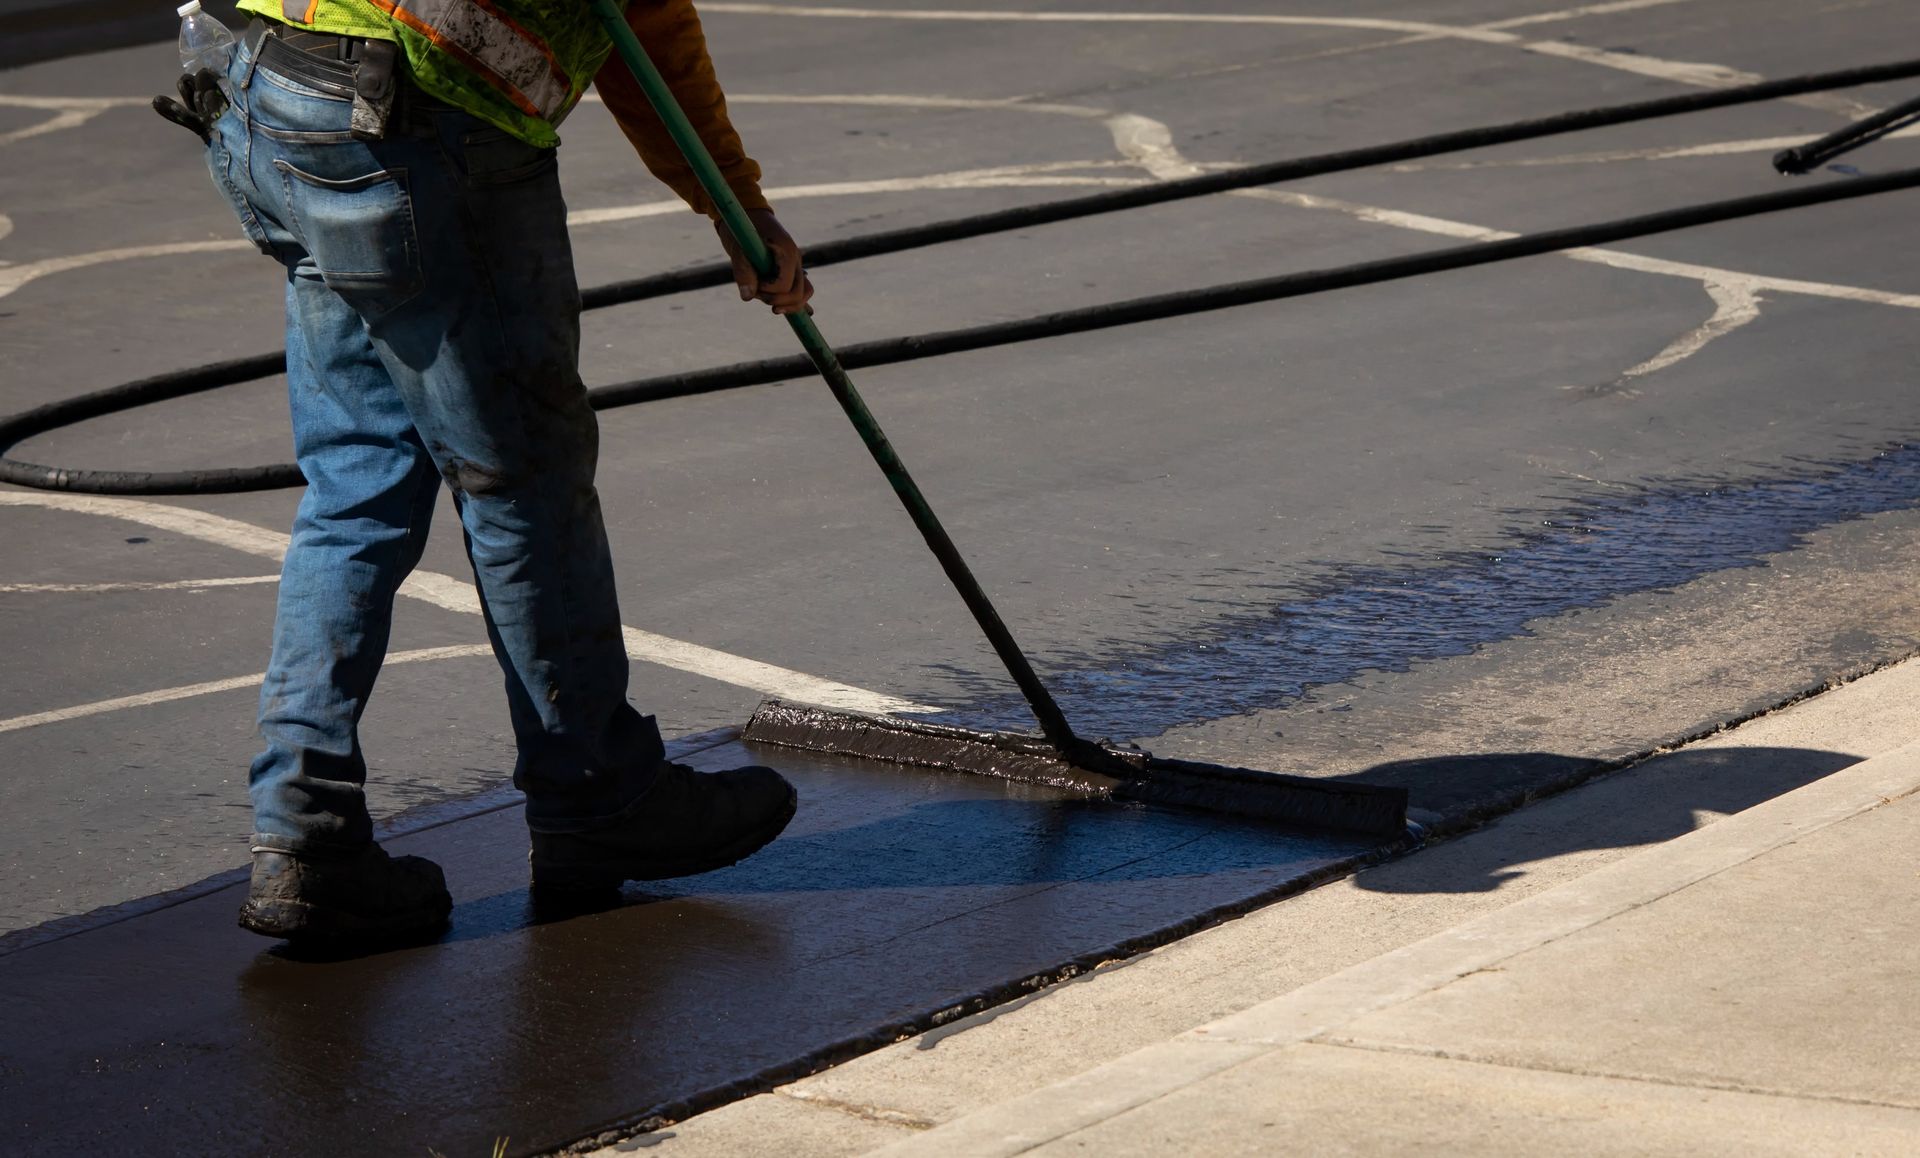
Apply a Base Coat
After the sub-base is in place, a base coat of asphalt should be applied. The base coat acts as a binder between the sub-base and the top layer of asphalt. It also provides additional strength and stability to the pavement. When applying the base coat:
- Ensure even application: The base coat should be applied evenly across the surface to create a uniform foundation.
- Compact the base coat: Compacting the base coat ensures it adheres properly to the sub-base and provides a solid surface for the top layer.
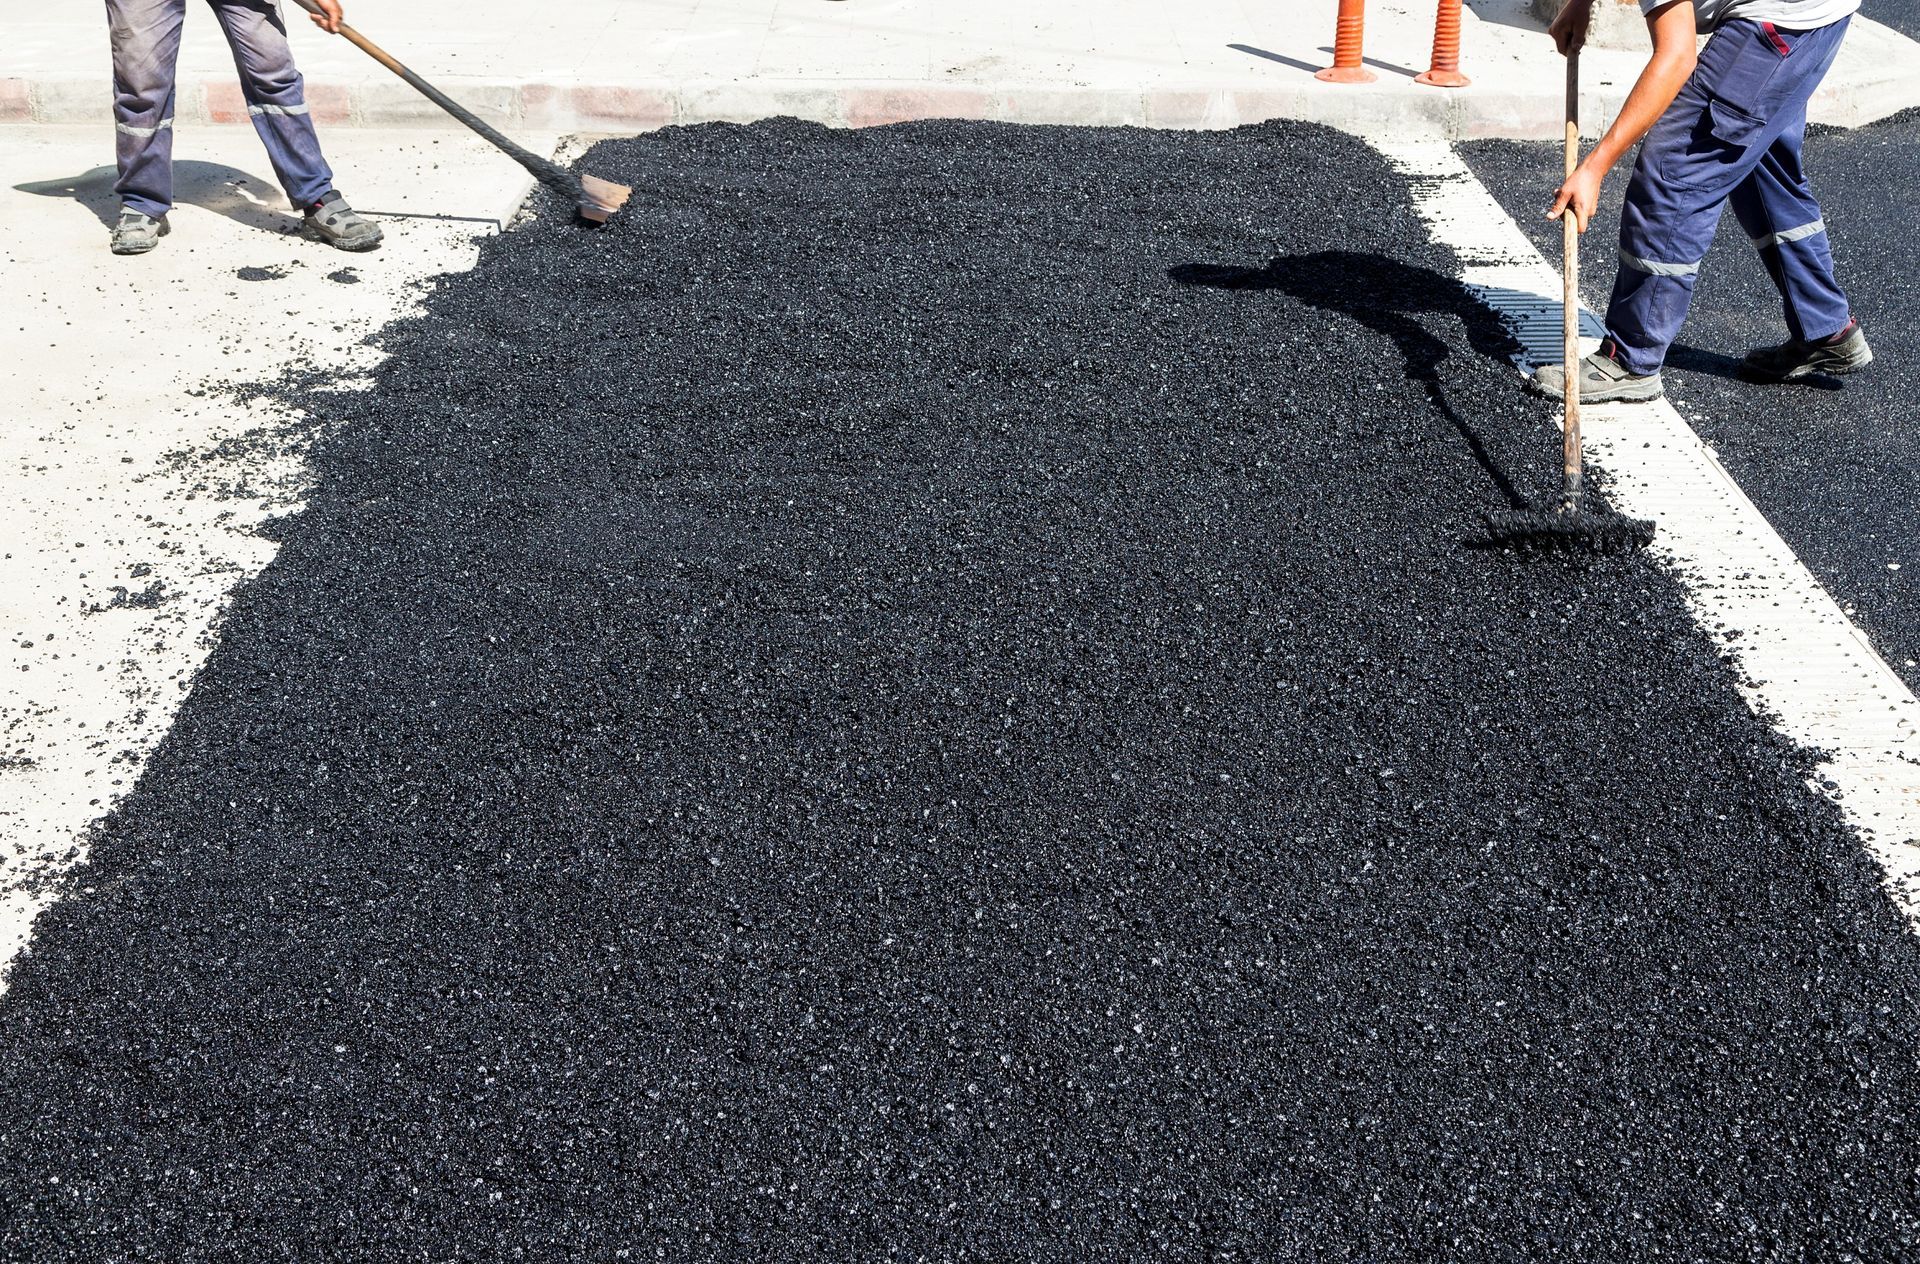
Asphalt Prep Work
With the sub-base and base coat in place, your property is now ready for the asphalt pavement installation process. Before laying the asphalt, check the weather conditions to ensure they are favorable for asphalt installation, ideally with temperatures above 50°F and no rain forecasted. Coordinate with your contractor to schedule the paving process at the optimal time. Additionally, mark the boundaries of the area to be paved clearly to ensure accurate installation.
Additional Tips for a Successful Asphalt Paving Project
Choose the Right Asphalt Mix
The type of asphalt mix used can significantly impact the performance and longevity of your pavement. Discuss with your contractor the best mix for your specific needs, considering factors such as traffic load, climate, and intended use.
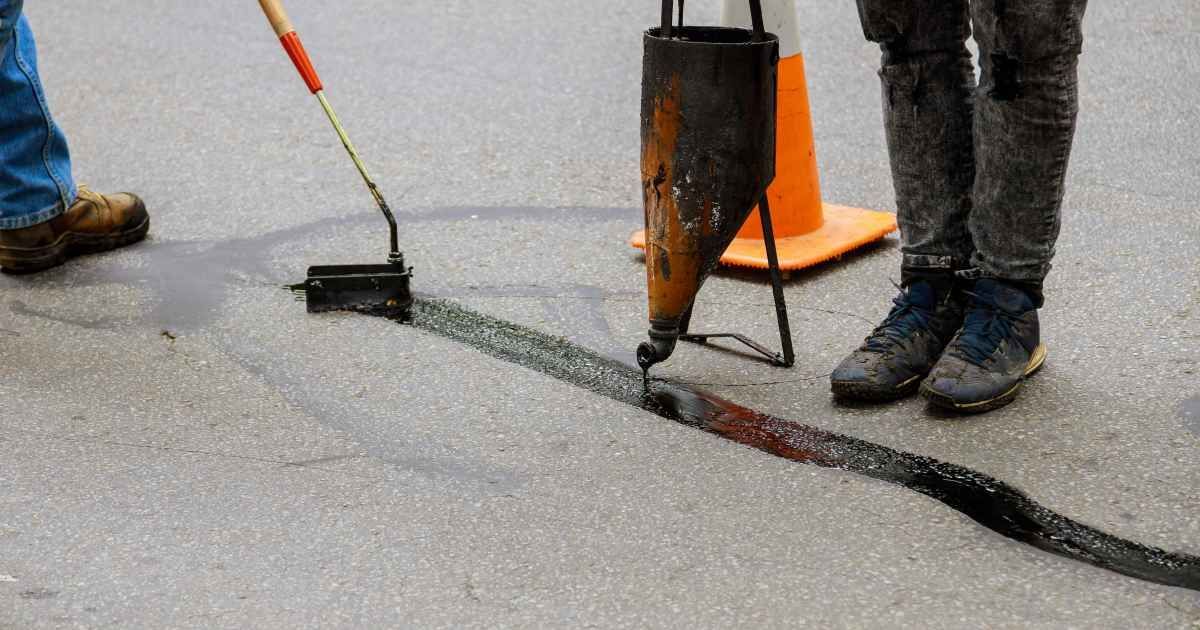
Plan for Maintenance
Even with proper property preparation and high-quality asphalt pavement installation, regular maintenance is essential to keep your pavement in top condition. Schedule routine inspections and address any issues, such as cracks or potholes, promptly to prevent further damage.
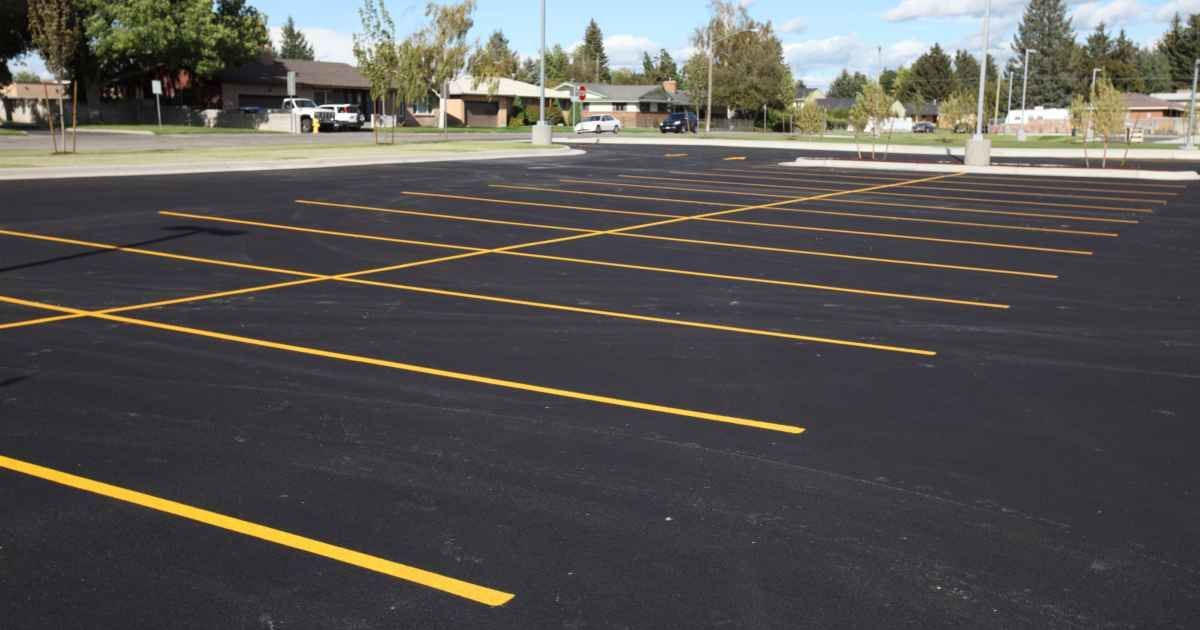
Conclusion
By following these steps for property preparation and working with an experienced contractor, you can ensure a successful asphalt pavement installation that will stand the test of time. Proper paving prep and property readiness not only enhance the appearance of your property but also provide a safe and durable surface for years to come.
Weigh the advantages and disadvantages of asphalt versus concrete paving to make an informed decision for your project. Explore the key differences.
Frequently Asked Questions (FAQs)
How long does asphalt paving take?
The time required for asphalt pavement installation depends on the size of the project, weather conditions, and the complexity of the job. On average, a residential driveway can be completed in 1-2 days, while larger projects may take several days to a week.
What is the best time of year for asphalt paving?
The best time for asphalt pavement installation is during warm weather, typically between late spring and early fall. Temperatures above 50°F are ideal for ensuring proper curing and bonding of the asphalt.
How long should I wait before using my new asphalt pavement?
After asphalt pavement installation, it's recommended to wait at least 24-48 hours before driving on the surface. For heavy vehicles, it's best to wait up to a week to allow the asphalt to fully cure.
What factors can affect the lifespan of my asphalt pavement?
Several factors can impact the lifespan of your asphalt pavement, including proper property preparation, quality of the asphalt mix, weather conditions, traffic load, and regular maintenance. Proper drainage and timely repairs also play a significant role in extending the life of the pavement.
Can I install asphalt pavement myself?
While DIY driveway installation is possible, it's not recommended unless you have experience with asphalt paving. Asphalt prep work requires specialized equipment and knowledge to ensure a durable and long-lasting result. It's best to hire a professional contractor to handle the installation.


Let’s talk about your project
Request a free quote today.
We are only accepting applications CDL truck drivers at this time.
En este momento solo aceptamos solicitudes para conductores de camiones CDL.
WHERE TO FIND US AREAS WE WERVE
950 N. Villa Ave.
Villa Park, IL 60181
sales@asphaltpavingpro.com
(630) 833-0850
Copyright © 2024 Asphalt Paving Professionals
Website design by Blue Ink Web LLC